

About This File
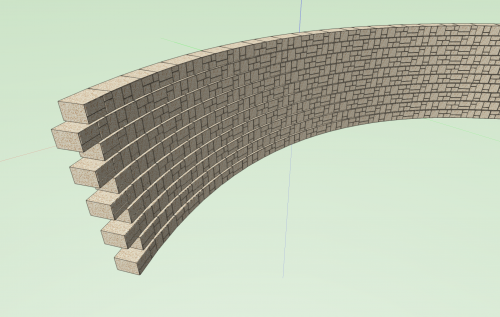
This Marionette object creates a Gravity Wall based off of a folder of symbols and a poly line. The poly line is the path of the Marionette object - to edit the poly line, right-click on the object and choose “Edit Control Geometry.” Within the Object Info palette (OIP) of the Marionette object, you can set the overall wall height, the angle at which the wall is slanted, and the pattern of the different symbols that will make up the wall. You can also offset this pattern on each row.
It’s important that the only symbols in the referenced folder be ones that you wish to use as blocks in the wall, and that each block symbol should have the same Z height - if the blocks are different heights, the wall will not be able to accommodate them.
In this file, there is also a network form of the script. This functions in a similar way to the Marionette object, except it creates a wall based off of a referenced poly line (a poly line that already exists in the document) instead of control geometry. To reference a poly line, give that poly a name in the Name field in the OIP and then reference that same name in the network.
